|
Tartan 30 Water Tank Repair - April 2013 |
|
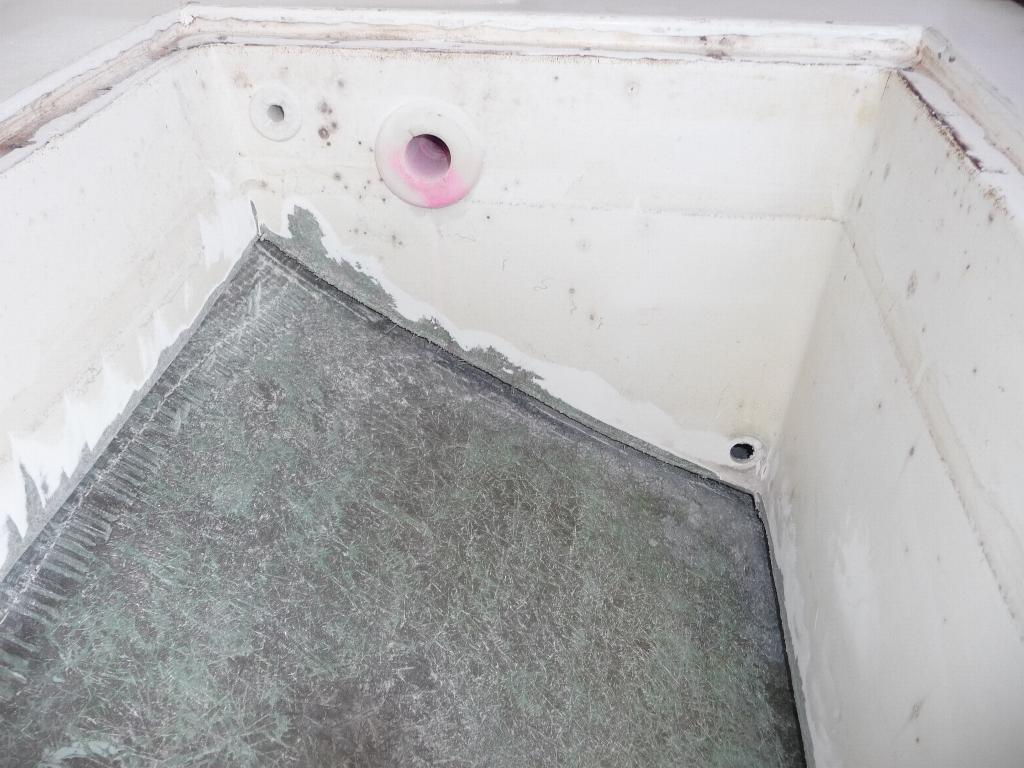
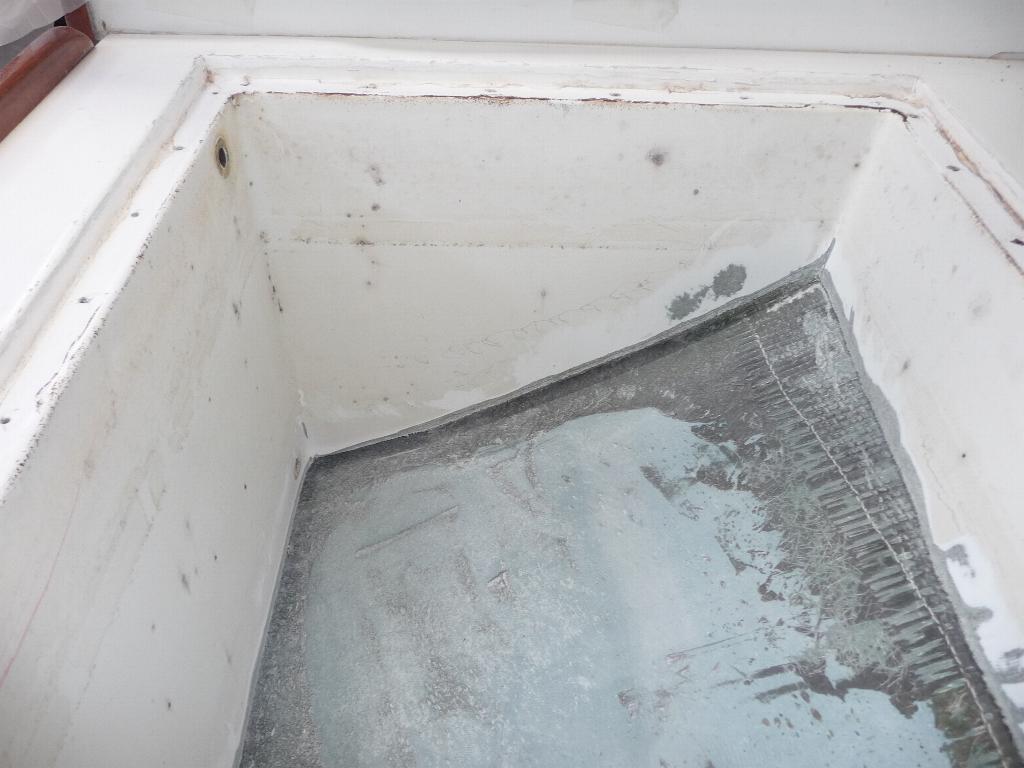
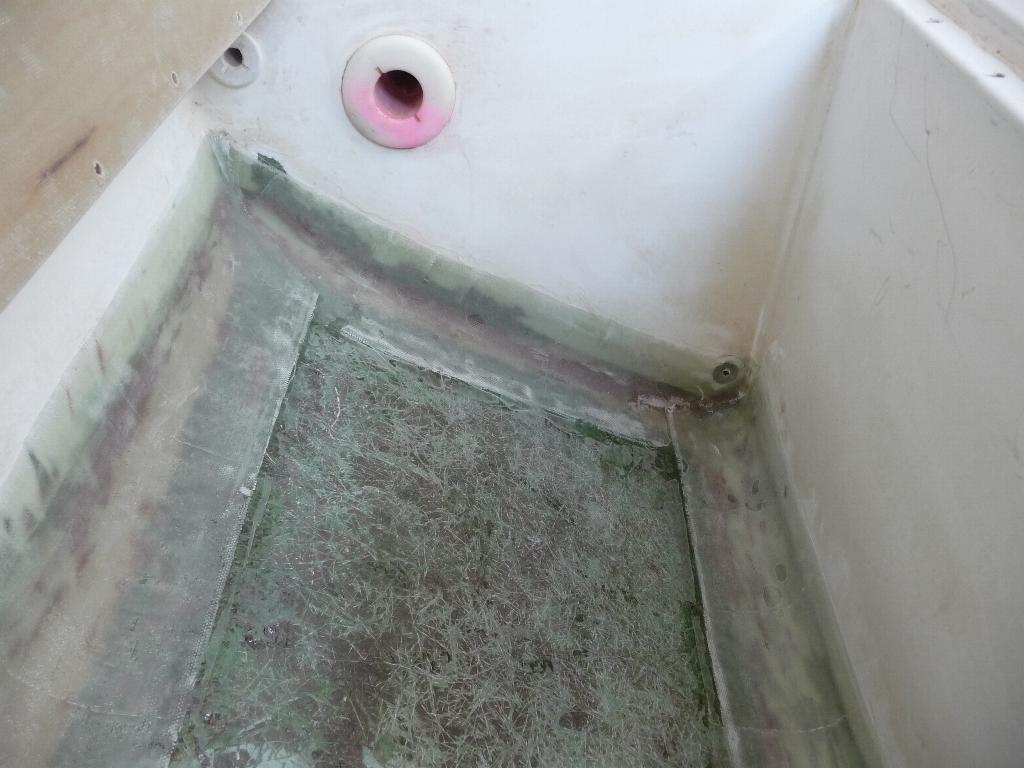
During hauling in the Fall of 2012, Sea Cup was dropped into it's cradle. One of the cradle poppets pushed in the hull under the water tank (port side, mid-ships under the dinette cushion). The bottom of the tank broke, and the baffle pushed up enough to break the lid. This webpage is concerned only with the water tank repair. The lid of the tank was removed and saved to use as a template for the new lid. I was originally going to repair the lid, but after getting into it, replacement became the easy path. The bottom of the tank was then cut out with a reciprocating saw, primarily to allow a good inspection of the hull. This was also consistent with the selected repair method, ie: to make the hull the new bottom of the water tank. The following photos show conditions with the bottom of the tank removed.
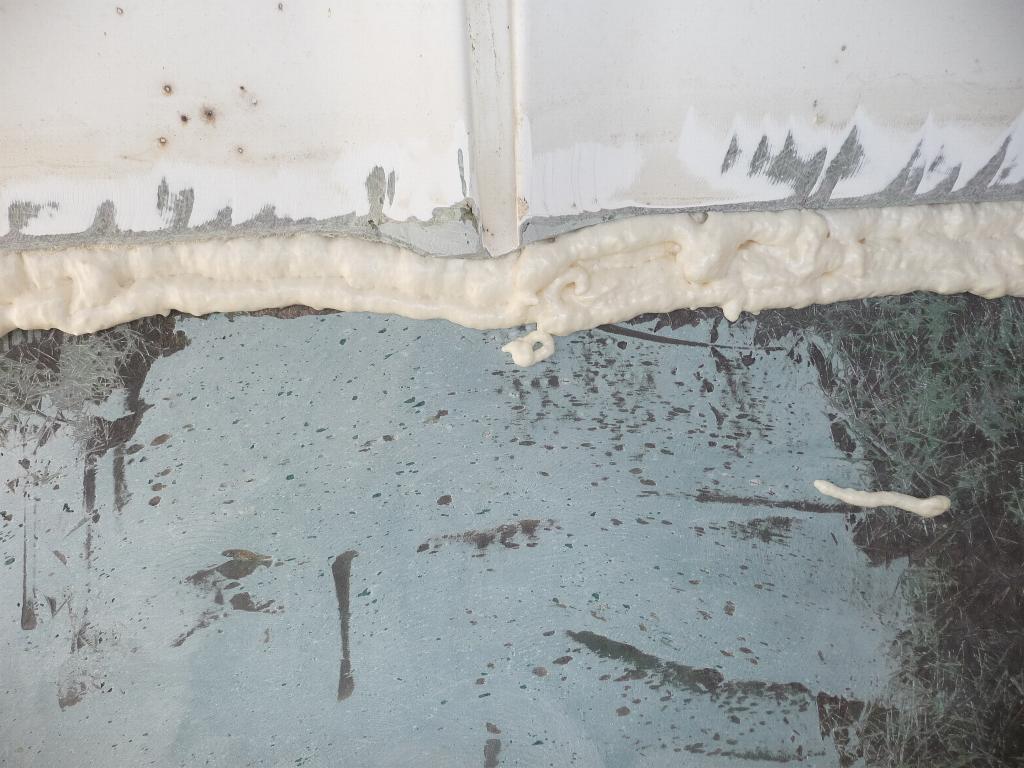
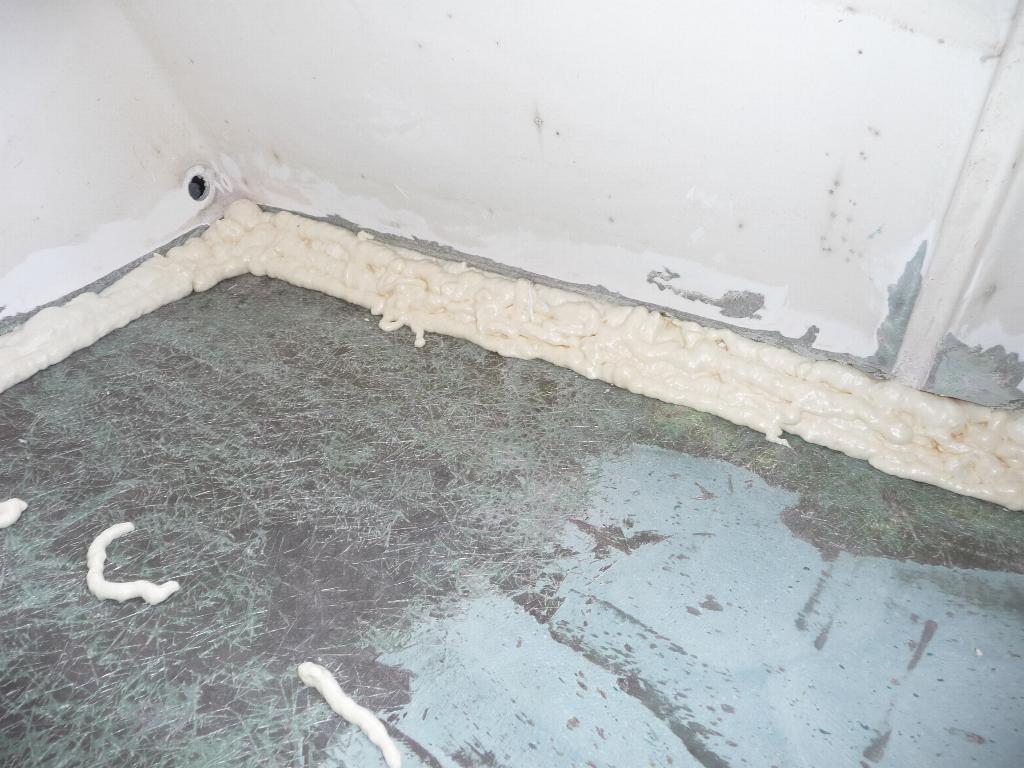
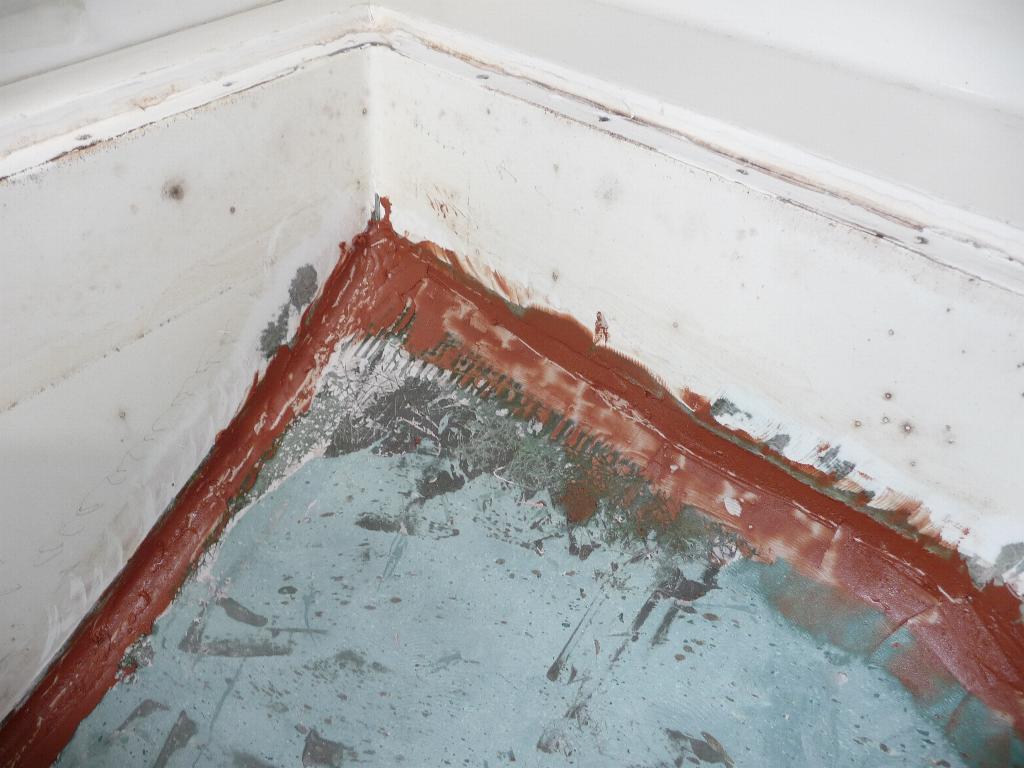
Left photo is looking forward, showing the fill and vent fittings. The outlet fitting has been removed (a job in itself) as this area will be getting fiberglass. The gap between the hull and the sides of the tank is about 3/4 inch. Edges have been cleaned up with an angle grinder with a 24 grit disc. Next step was to close up the gap with 'Great Stuff' - the foam in a can.
This stuff swells as it's applied, and continues to swell while it cures. After curing overnight, it was trimmed to a radius using a hole saw mounted in a drill - worked like a charm. The surface was then stabilized using an epoxy filler. A first attempt using Bondo made a mess as the styrene melted the foam.
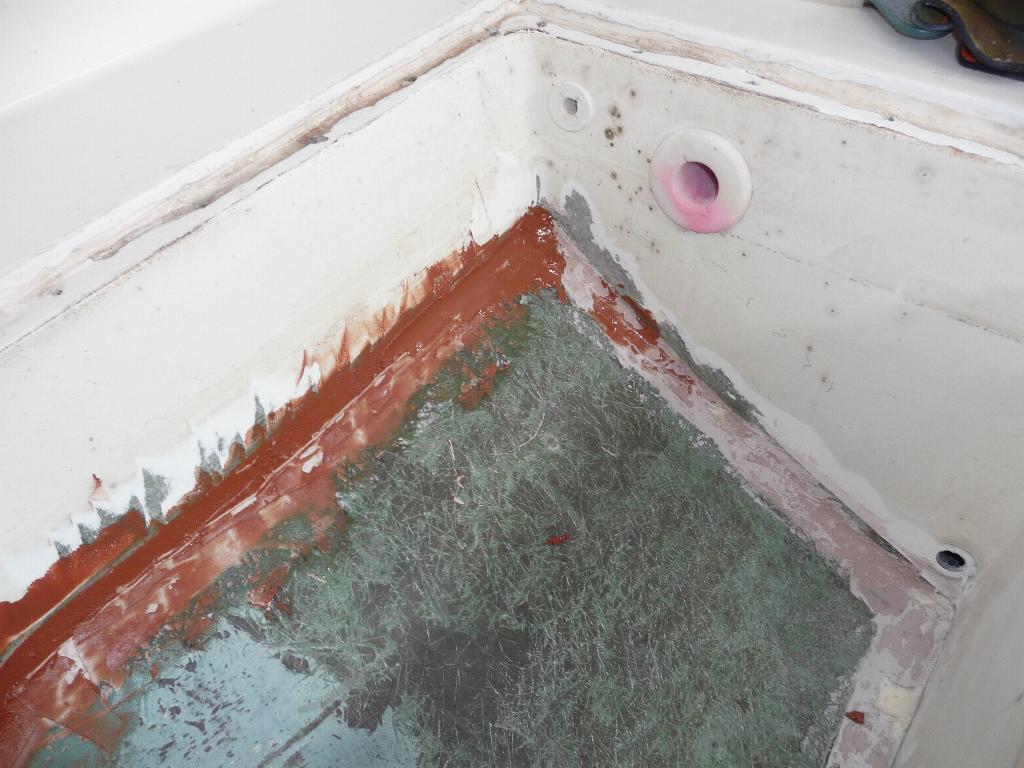
These photos show two different colors, due to two different fillers. The red stuff is with phenolic microballoons, the other with microglass beads. I spent some time trying to get a smooth radius as I figured this would ease the fiberglass installation. Next was the application of the fiberglass with epoxy resin. The cloth was 12.5 oz, resin was Mas low viscosity.
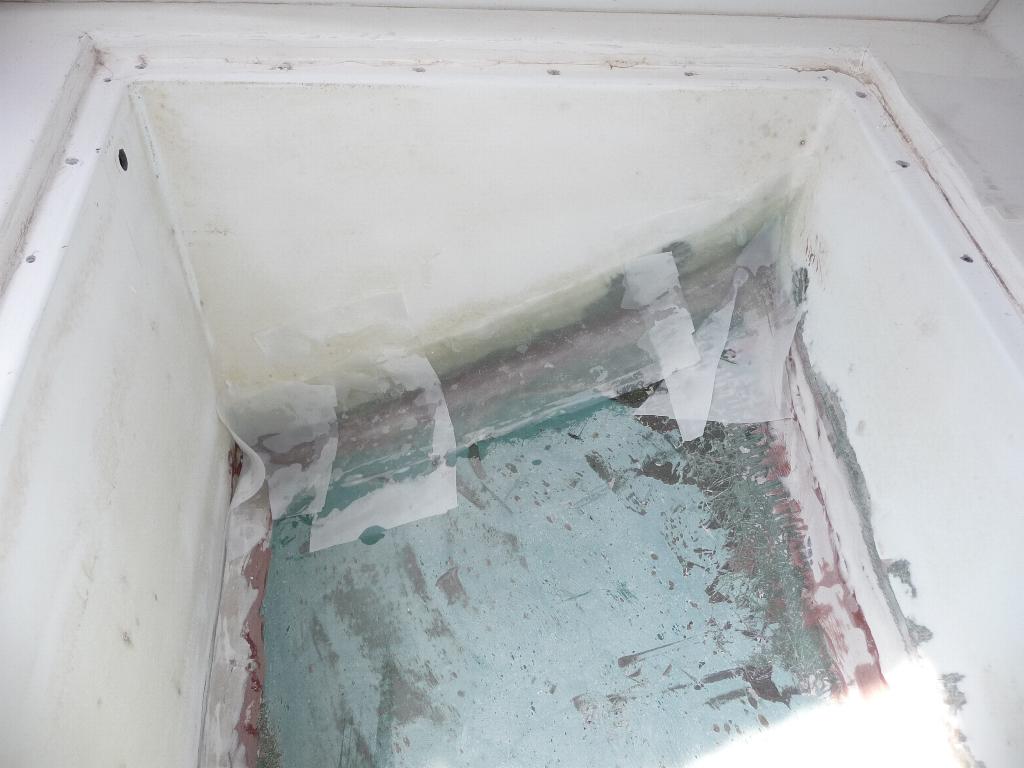
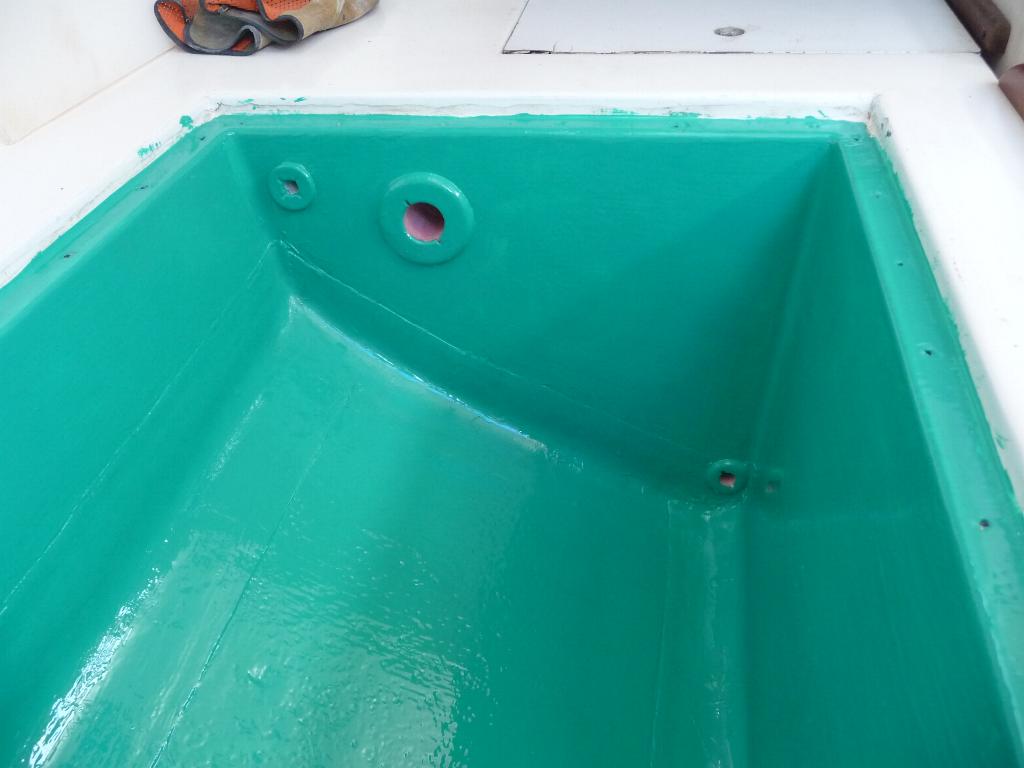
Left photo shows the aft layup. Two layers wide enough to cover the fillet and extend 1" on each side, two layers about 2 inches wider. These are covered with peel-ply to allow compacting the layup. A roller was too clumsy, so I just used my thumb - in a nitrile glove. Right photo shows the completed layup (peel-ply removed) and the inside of the new lid with two layers of 12.5 oz, also using peel-ply for compacting with a squeege. Next step was to seal the inside of the lid and the inside of the tank with a NSF approved water tank coating. There are numerous coatings on the market - the trick is to find one from a vendor that you trust and thats suitable for a small tank. I chose 3M Scotchkote 323, brush grade. It turned out to be too thick for my liking, and I thinned it with stove alcohol - perhaps the spray grade would have been more suitable. I applied two coats.
Left photo shows the inside of the tank (and part of the lid) ready for NSF coating. Right photo shows the tank with the outlet fitting reinstalled and coated. The inside of the lid was also NSF coated. The old baffle (polyethylene?) was reinstalled without coating.
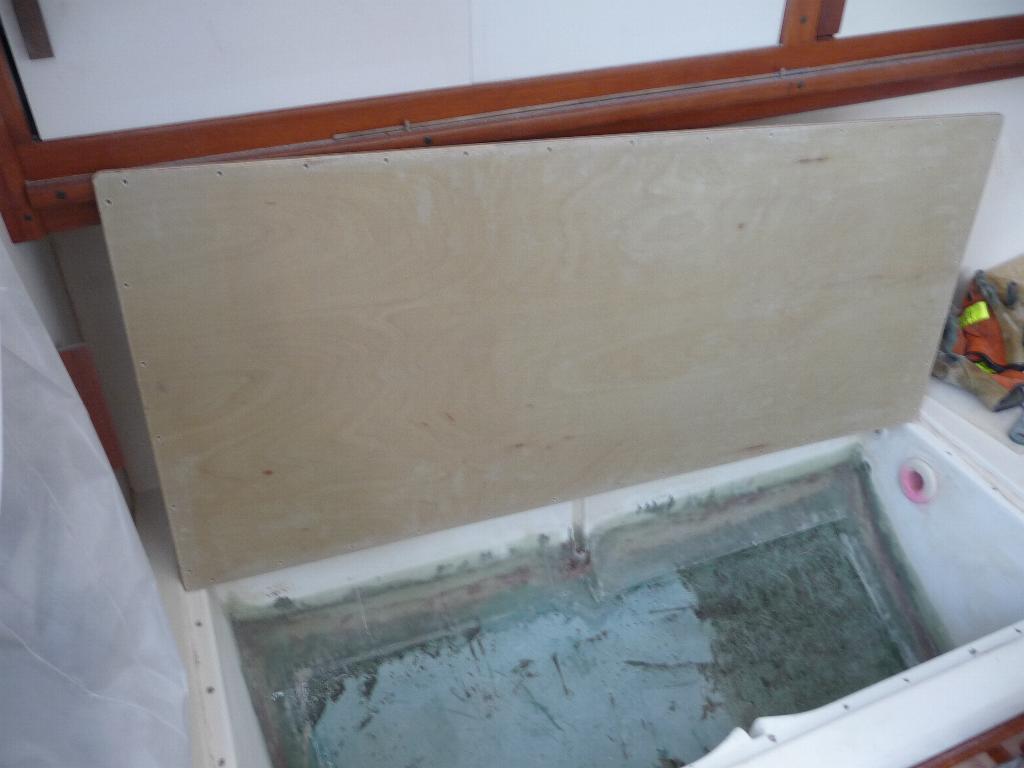
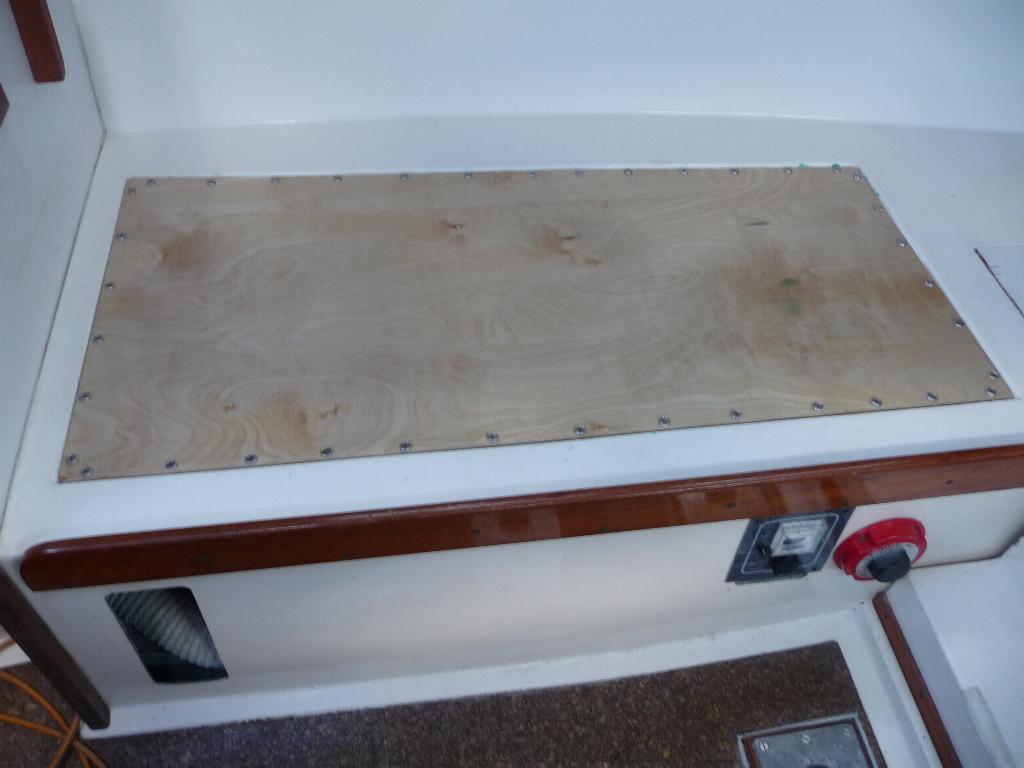
Finally, the lid was reinstalled using a NSF sealant - Sikaflex 1a. The top of the lid is coated with epoxy as a sealant (no glass). The opening in the hull liner at the aft end of the tank is for viewing the tank level sight gauge (vinyl tubing). It's now the end of June, no leaks yet and the water tastes fine. |